Getting Started & Flashing
This chapter gets firmware onto your POOM board and walks you through the first boot. There are two supported paths: the web flasher (fastest, no toolchain) and idf.py (full control, for building from source). Do the web flasher first; move to idf.py when you want to change the code.
esp32c5), a data-capable USB-C cable (not charge-only), and Chrome or Edge on a desktop or laptop. Web Serial is not available on phones or tablets. A microSD card is optional but needed later for captures and portals.
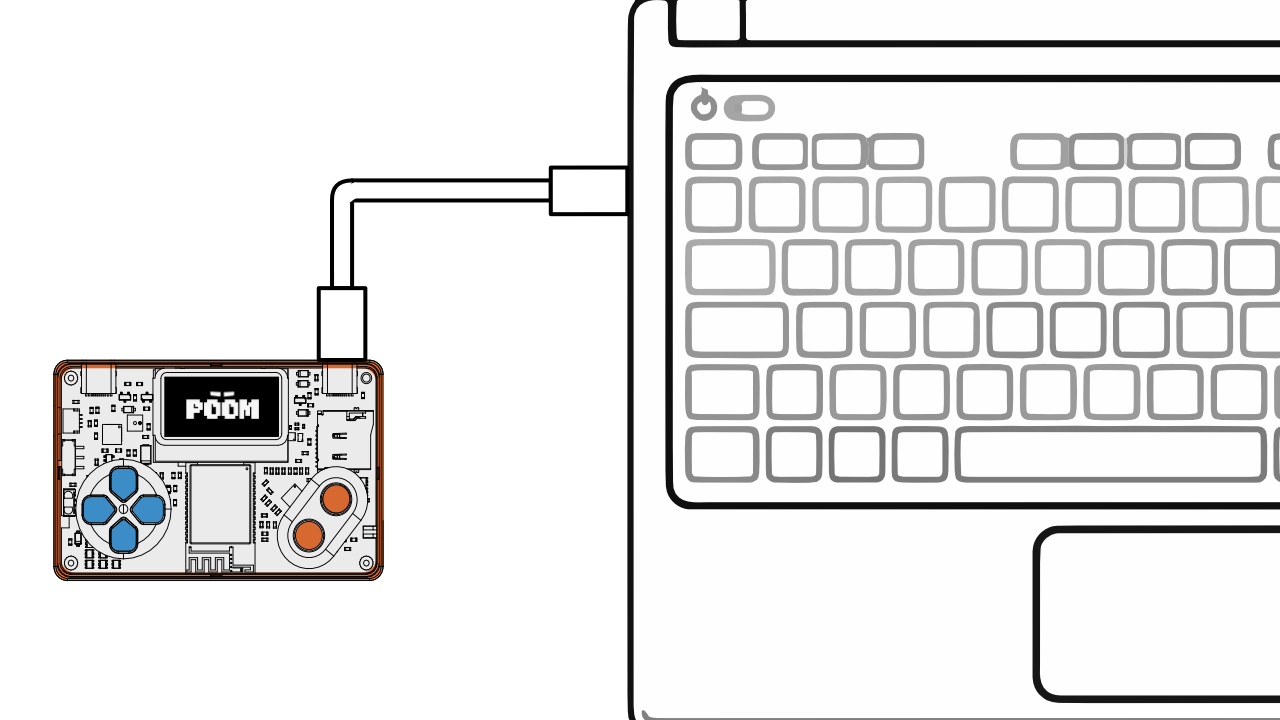
Option A — Flash with the POOM Web Flasher
The web flasher runs entirely in your browser. It uses the Web Serial API to talk to the board's USB Serial/JTAG port and write the firmware — no drivers or command line required.
Step by step:
- Open the POOM Web Flasher (
poom.stellar-iot.com/bin-store) in Chrome or Edge on desktop. (Web Serial is not available in Safari or Firefox, and not on mobile.) - Plug POOM into your computer with a data USB cable.
- Click Connect and pick the POOM serial port in the browser's device dialog.
- Select your board target (
esp32c5) if prompted, then click Install / Flash. - Wait for the write and verify to finish, then let the board reboot into POOM.
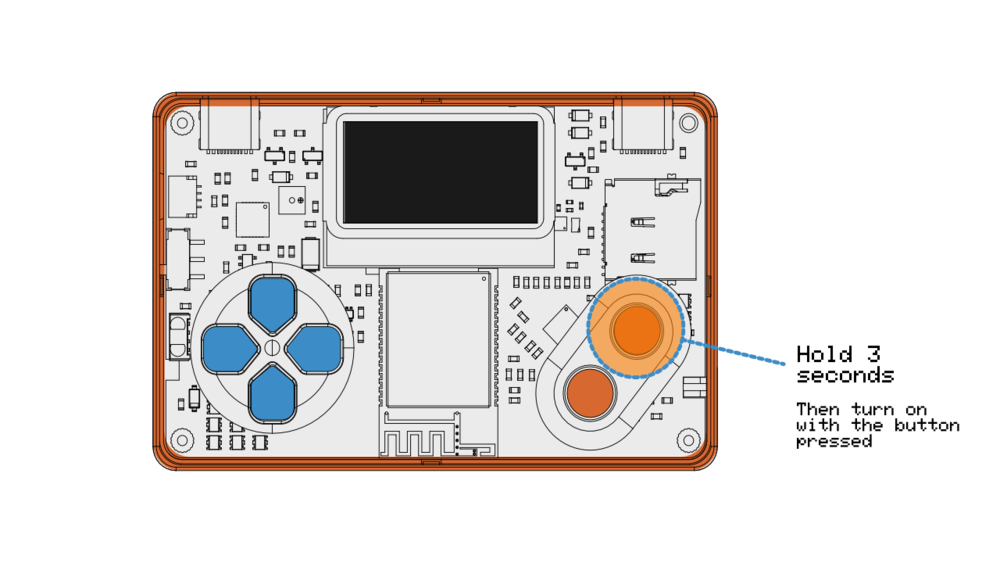
poom.bin; just Connect and Flash.
What Gets Written (Flash Layout)
POOM flashes as four images at fixed offsets on an 8 MB flash (mode DIO, 80 MHz). A web flasher usually bundles these into one merged file, but this is what is underneath:
| Offset | Image | Purpose |
|---|---|---|
0x0 | bootloader.bin | Second-stage bootloader |
0x8000 | partition-table.bin | Partition map |
0x15000 | ota_data_initial.bin | Selects the active OTA slot |
0xa0000 | poom.bin | The POOM application (OTA slot 0) |
The partition table reserves two 3712 KB app slots (ota_0/ota_1) so POOM can update itself over the air later, plus NVS for config/credentials and a FAT area for Zigbee/Thread storage. You don't need to manage these by hand — the flasher writes them for you.
Option B — Build and Flash with idf.py
Use this when you want to build from source or change POOM. It requires ESP-IDF v6.1.0 installed.
. "$HOME/esp/esp-idf/export.sh"

# Consumer POOM target (ESP32-C5)
idf.py set-target esp32c5

# Build, flash, and open the serial monitor
idf.py build
idf.py flash monitor
idf.py flash writes the same four images shown above; monitor then attaches to the console so you can watch boot logs. Press Ctrl+] to exit the monitor.
set-target matches the silicon in your hand. Build for esp32c5, the consumer POOM target.First Boot: The Menu
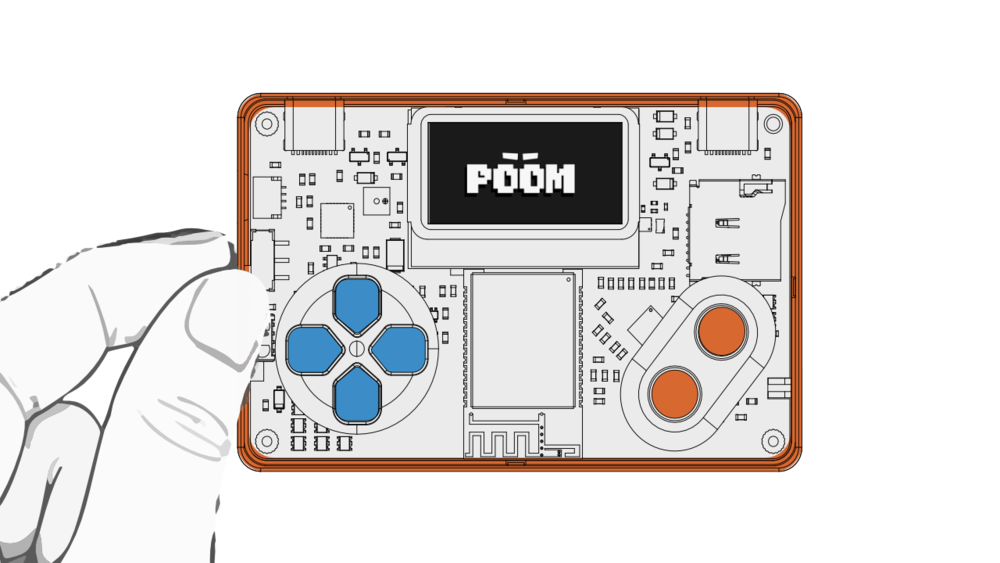
After flashing, POOM boots to menu_general_poom — the hierarchical menu that fronts every tool. It is organised into five categories:
| Category | What lives there |
|---|---|
| THE BEAST | Wireless security & pentest tools (see the BEAST Lab) |
| THE ZEN | NFC, MIDI, IR, media control (NFC in the NFC Lab) |
| THE GAMER | Controller and gaming interfaces |
| THE MAKER | I2C scanner, plotting, Edge AI, BLE scan |
| SETTINGS | Wi-Fi, DFU update, NFC tuning, SD files |
Navigation: LEFT/RIGHT switch category, UP/DOWN move between tools, A launches, B exits or goes back. A launched app detaches the menu and runs on its own; press B to return.
Where to Go Next
With POOM flashed and booting, pick a track:
- CLI Console — drive POOM from a keyboard over USB and script it.
- THE BEAST Lab — hands-on wireless-security experiments.
- NFC Security Lab — the contact-less track.
- Zigbee / 802.15.4 Lab — smart-home radio capture.