THE ZEN Lab — Creative Control
THE ZEN is POOM's creative and control suite: the tools that turn the device into a musical instrument, a remote, and a controller. Where THE BEAST is about probing networks, THE ZEN is about output — sound, light, and control signals. This lab walks each tool as a short experiment. (NFC also lives under THE ZEN and has its own NFC Security Lab.)
Experiment 1 — MIDI: Play Over Bluetooth
What it does: POOM acts as a BLE MIDI controller (poom_midi starts a BLE MIDI transport). It advertises as a MIDI device your computer or tablet can pair with, then sends note/control messages — useful for motion-driven or button-driven music.
Run it: THE ZEN → MIDI → A, then pair "POOM" as a BLE MIDI device in your DAW or a synth app (GarageBand, Ableton with a BLE MIDI bridge, etc.).
Observe: notes arrive over Bluetooth with no cable and no MIDI interface. Try mapping POOM to a soft synth and playing with the buttons.
Experiment 2 — TONE: The Onboard Buzzer
What it does: drives the PWM buzzer (LEDC-based buzzer driver) to generate tones and simple sound effects directly on the device — the same buzzer your Lua scripts reach via App.beep().
Run it: THE ZEN → TONE → A and step through tones/effects.
Observe: this is local audio feedback, independent of any pairing. It's the building block behind POOM's audio themes and UI sounds.
Experiment 3 — CONTROL: Media & Presentation Remote
What it does: uses BLE HID to act as a media/presentation controller — play/pause, next/prev, and slide navigation for a paired computer or phone.
Run it: THE ZEN → CONTROL → A, pair POOM as a Bluetooth input device, then open a media player or slide deck.
Observe: the same BLE HID plumbing behind the keyboard/controller tools in THE GAMER Lab — here it's mapped to media keys.
Experiment 4 — IR UNIV: Universal Infrared Remote
What it does: POOM is a universal IR remote with both receive and transmit hardware (the ir_rcv driver decodes frames via the RMT peripheral; a separate IR TX pin emits). There are two ways to get a remote onto POOM: copy one directly from a physical remote, or load a Flipper-compatible .ir file from the huge community library.
Run it: THE ZEN → IR UNIV → A.
Way 1 — Copy a Remote Directly
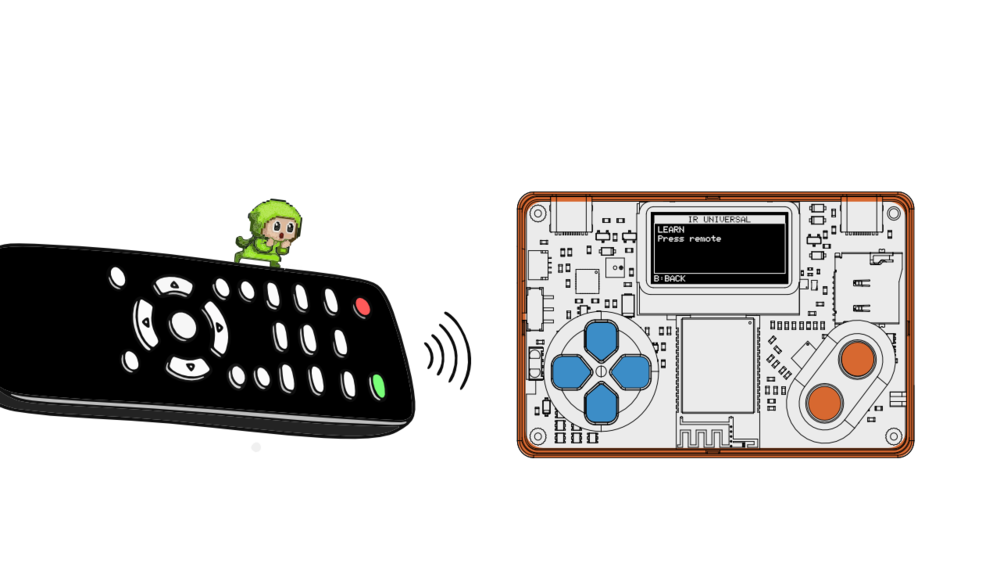
Point your existing remote at POOM's IR receiver and press a button. POOM captures the signal, decodes it (address + command) and saves it — the button is now cloned onto POOM, ready to transmit back at the device. This is the classic learning-remote flow: no computer, no files.
Way 2 — Flipper-Compatible .ir Library
POOM's IR also uses the Flipper Zero .ir file format — the same plain-text remotes the Flipper community shares. Each file starts with Filetype: IR signals file and lists named buttons (Power, Vol+…) with a protocol (e.g. Samsung32, NEC) plus address/command, or a raw timing capture. The repo already ships a few sample .ir files.
.ir remotes — TVs, ACs, projectors, audio, streaming boxes and more. Download the .ir for your device, copy it to POOM's SD card (/sdcard), pick it in IR UNIV and fire — no learning needed.
Where to Go Next
For the NFC track, see the NFC Security Lab. For more BLE HID control, see THE GAMER Lab. The buzzer, IR and LED hardware are detailed in the Hardware Reference.