POOM CLI Console
Connect to the POOM command-line interface over USB with Minicom on Linux or macOS and explore the NFC CLI commands.
One of the most interesting parts of POOM is its CLI. I know many people enjoy working from a console—I am one of them. I often prefer typing commands instead of navigating through buttons.
When we began exploring the ESP32-C5 CLI, we found a few particular details related to its USB/JTAG interface. They are not complicated, but they are important enough to deserve this short guide.
The good news is that on Linux, most of this behavior can be avoided with one simple command before opening the terminal. Choose your operating system below and let's enter the POOM CLI.
Install Minicom
Ubuntu / Debian
sudo apt update
sudo apt install minicom
Fedora
sudo dnf install minicomArch Linux
sudo pacman -S minicommacOS
Install Minicom with Homebrew:
brew install minicomLinux
Connect POOM to your computer with a data-capable USB cable. POOM uses a USB CDC/ACM interface, so it will normally appear as:
/dev/ttyACM0Check for it with:
ls /dev/ttyACM*For example:
/dev/ttyACM0Before opening Minicom
This is the important part. Run this command first:
stty -F /dev/ttyACM0 -hupclThen open Minicom:
minicom -o -D /dev/ttyACM0 -b 115200Now open the CLI on POOM:
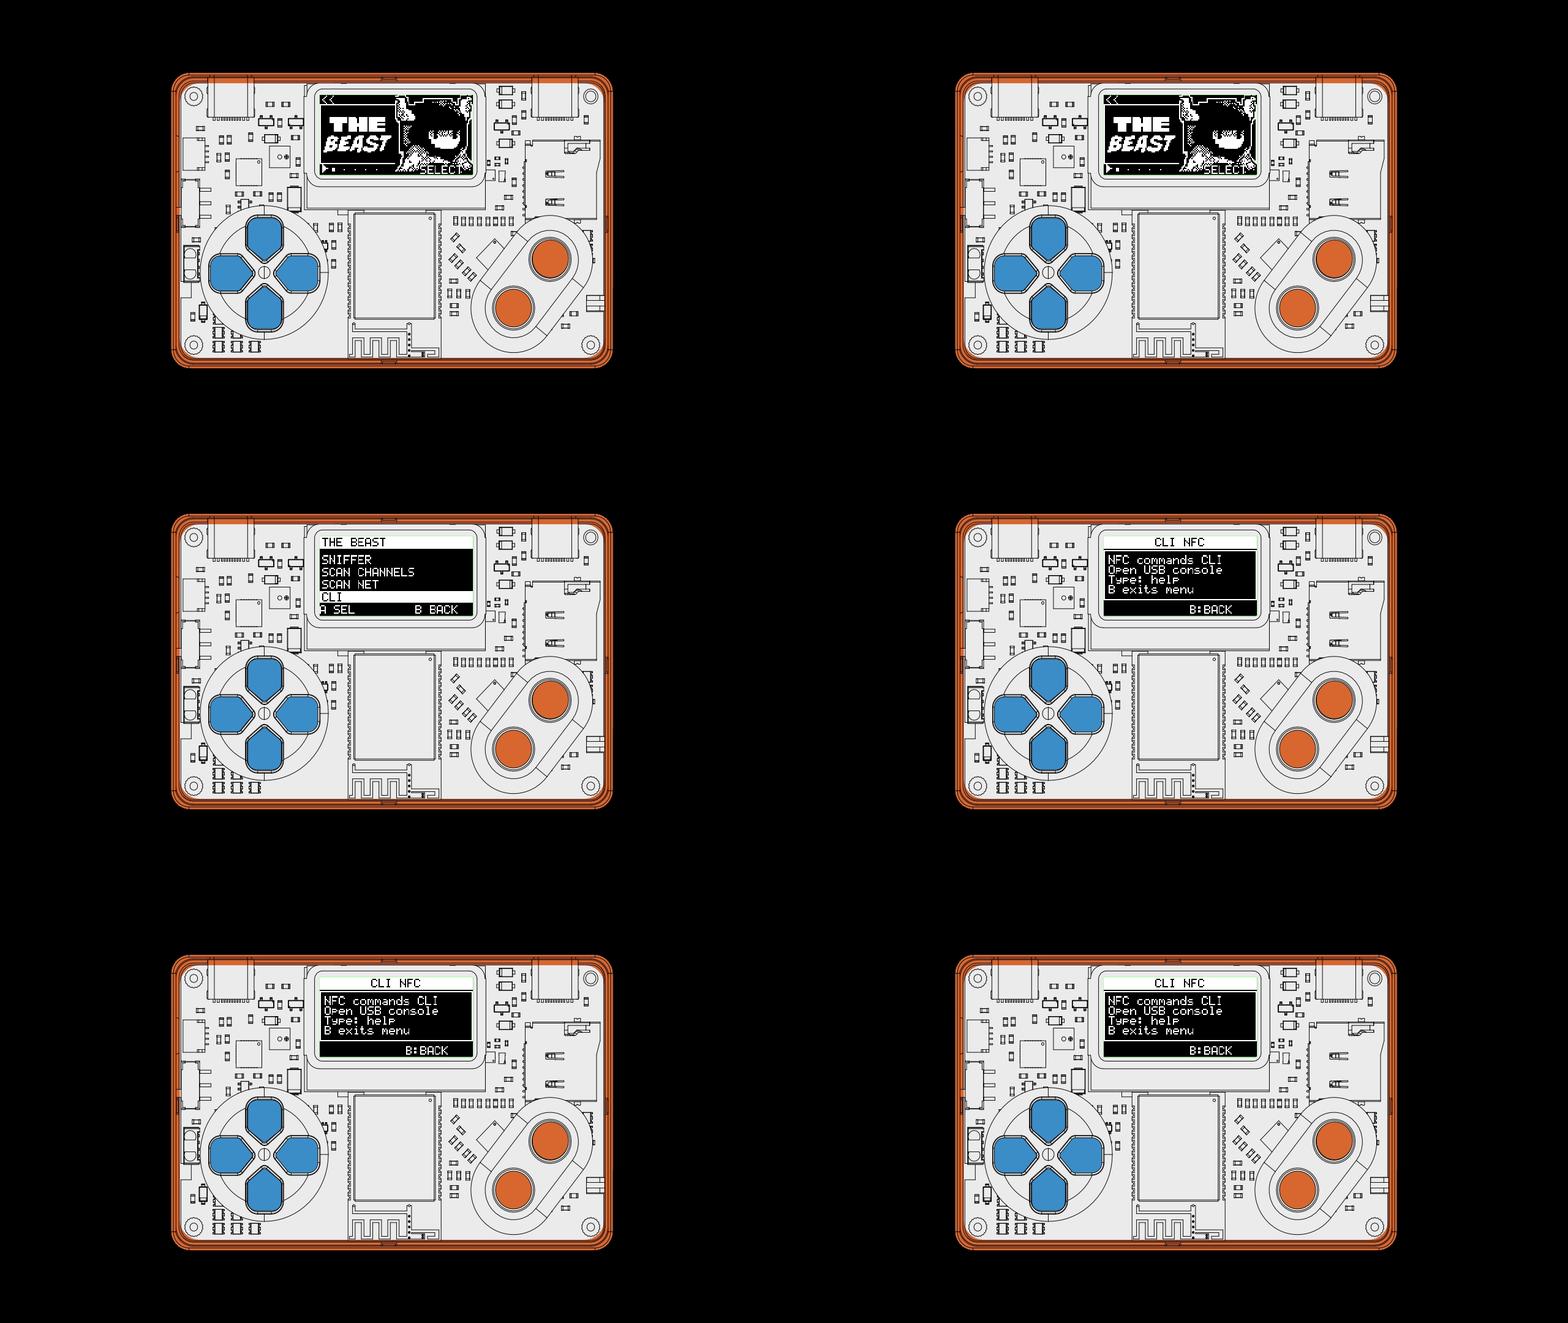
BEAST → CLI
The POOM CLI will appear in Minicom.
Why do we use -hupcl?
The ESP32-C5 has a particular USB/JTAG behavior that can make the device appear frozen while working with the serial port. On Linux, disabling HUPCL before opening Minicom helps avoid this problem during normal CLI use:
stty -F /dev/ttyACM0 -hupclstty command.In practice, these are the two commands you need to remember:
stty -F /dev/ttyACM0 -hupcl
minicom -o -D /dev/ttyACM0 -b 115200
Then open BEAST → CLI on POOM.
macOS
Connect POOM through USB and list the available serial ports:
ls /dev/cu.*POOM should appear with a name similar to:
/dev/cu.usbmodemXXXXFor example:
/dev/cu.usbmodem1101Open Minicom with that port:
minicom -o -D /dev/cu.usbmodem1101 -b 115200Then open the CLI on POOM:
BEAST → CLI
You can now begin using the console.
stty -F ... -hupcl uses GNU/Linux syntax and is not used in the same way on macOS.If you see Permission denied
On Linux, you may see an error similar to:
Permission denied: /dev/ttyACM0Add your user to the dialout group:
sudo usermod -aG dialout $USERThen sign out and sign back in. You can check the port permissions with:
ls -l /dev/ttyACM0If the port is busy
If Minicom cannot open POOM, check whether another application is using the port:
sudo lsof /dev/ttyACM0Applications that may leave the port open include:
- Arduino Serial Monitor
- ESP-IDF Monitor
- PlatformIO Monitor
screen- Another Minicom instance
Close the application and run:
stty -F /dev/ttyACM0 -hupcl
minicom -o -D /dev/ttyACM0 -b 115200
If POOM appears frozen
In some situations, the ESP32-C5 may appear frozen because of behavior related to its USB/JTAG interface. If this happens:
- Turn POOM off.
- Turn POOM back on.
- Run the Linux setup commands again:
stty -F /dev/ttyACM0 -hupcl
minicom -o -D /dev/ttyACM0 -b 115200- Open BEAST → CLI on POOM again.
After turning POOM off and on, it should work normally again.
Exit Minicom
To exit Minicom, press:
Ctrl + AThen press:
XConfirm when Minicom asks whether you want to exit.
Quick Start
If Minicom is already installed, these are the commands you need.
Linux
Find POOM:
ls /dev/ttyACM*Configure the port and open Minicom:
stty -F /dev/ttyACM0 -hupcl
minicom -o -D /dev/ttyACM0 -b 115200
Then open BEAST → CLI on POOM.
macOS
Find POOM:
ls /dev/cu.*Open Minicom:
minicom -o -D /dev/cu.usbmodemXXXX -b 115200Then open BEAST → CLI on POOM.
NFC CLI Command Reference
This reference summarizes the current NFC commands available in the POOM CLI. Use it after opening a serial or Web CLI connection.
Before using any NFC command
- On POOM, open THE BEAST from the main menu, then select CLI.
- Start the NFC core with
nfc-core-start. - Select the technology filter you need, then scan or connect to your tag.
nfc-core-start
nfc-tech-set-a
nfc-scan-run
nfc-card-connect1. Core workflow
| Command | What it does |
|---|---|
nfc-core-start | Initializes the NFC core, including I2C, IRQ, RFAL, and the reader's base state. |
nfc-core-stop | Stops the NFC core, turns off the RF field, and clears its state. |
nfc-scan-run | Runs a one-shot scan using the current technology filter. |
nfc-scan-run-loop <period_ms> <count> [timeout_ms] | Repeats the scan a fixed number of times at the requested interval. |
nfc-card-connect | Activates a nearby card so POOM can interact with it. |
nfc-card-send <hex...> | Sends hexadecimal bytes to the active card. It uses APDUs with ISO-DEP and may use raw transfers with other technologies. |
2. Technology filter
| Command | What it does |
|---|---|
nfc-tech-show | Shows the currently selected technology filter. |
nfc-tech-set-all | Enables every technology supported by the scanner. |
nfc-tech-set-a | Selects NFC-A / ISO14443-A only. |
nfc-tech-set-b | Selects NFC-B / ISO14443-B only. |
nfc-tech-set-f | Selects NFC-F / FeliCa only. |
nfc-tech-set-v | Selects NFC-V / ISO15693 only. |
nfc-tech-set-st25tb | Selects ST25TB only. |
3. Saved cards, profiles, and dumps
| Command | What it does |
|---|---|
nfc-cards-list | Lists card identifiers saved in the nfc_cards store. |
nfc-cards-save [timeout_ms] | Scans and saves detected card identifiers in nfc_cards. |
nfc-cards-del <index> | Deletes a saved card by index. |
nfc-cards-clear | Deletes every card saved in nfc_cards. |
nfc-card-save-current [name] | Saves the last profile captured by nfc-card-connect in nfc_profiles. |
nfc-profiles-list | Lists complete profiles saved in nfc_profiles. |
nfc-profiles-del <index> | Deletes a saved profile by index. |
nfc-profiles-clear | Deletes every saved profile. |
nfc-dump-save-sd [timeout_ms] | Saves a structured card dump to the microSD card. |
nfc-mful-save [timeout_ms] | Saves an .nfc dump of an MF Ultralight / Type 2 card for emulation. |
nfc-isodep-dump-save-sd | Connects to an ISO-DEP card and saves an APDU capture to the microSD card. |
nfc-clipper-history-read | Attempts to read and display history from a compatible Clipper / DESFire card. |
4. Emulation
| Command | What it does |
|---|---|
nfc-emul-show | Shows the current NFC emulation configuration. |
nfc-emul-reset | Restores the default emulation configuration. |
nfc-emul-set <field> <value> | Changes an emulation field such as mode, uid, sak, atqa, ats, uri, or image. |
nfc-emul-load-last-connect | Copies the most recent nfc-card-connect snapshot into the emulator configuration. |
nfc-emul-start-last-connect | Loads the most recent connection snapshot and starts emulation. |
nfc-emul-start [stored_index] | Starts the current emulation configuration or loads a stored profile first. |
nfc-emul-stop | Stops NFC emulation. |
5. Reader and ISO-DEP debugging
| Command | What it does |
|---|---|
nfc-reader-verbose-set <0|1> | Enables or disables detailed reader TX/RX traces. |
nfc-isodep-chunk-set <1..250> | Changes the maximum fragment size used for ISO-DEP chaining. |
nfc-rf-turn-on | Forces the RF field on for debugging. |
nfc-rf-turn-off | Forces the RF field off for debugging. |
nfc-mode-get | Shows the current RFAL mode and TX/RX bitrates. |
nfc-mode-set <mode> <tx_br> <rx_br> | Changes the RFAL mode and bitrates using numeric RFAL values. |
nfc-obsv-get | Shows the current observation-mode configuration. |
nfc-obsv-set <0|1> [tx] [rx] | Enables or disables observation mode and its TX/RX mux settings. |
nfc-reqa-send | Sends an ISO14443-A REQA and displays the ATQA response. |
nfc-wupa-send | Sends an ISO14443-A WUPA and displays its response or error. |
nfc-raw-transceive [--crc-manual] <hex...> | Runs a raw transceive directly against the front end or card. |
nfc-regs-dump | Prints a detailed ST25R3916 register dump. |
6. Antenna tuning
| Command | What it does |
|---|---|
nfc-tune-auto-run | Runs automatic antenna tuning and displays the result. |
nfc-tune-get | Reads the current AAT_A, AAT_B, phase, and amplitude values. |
nfc-tune-set <aat_a> <aat_b> | Writes AAT_A and AAT_B, then displays the resulting measurement. |