Program POOM with Arduino
Install Poom by Poom and the Poom C5 board in Arduino IDE, then upload a first sketch that writes to POOM's OLED screen.
Write your own Arduino sketch for POOM. Use the OLED screen, control the onboard LEDs, and read motion from its accelerometer to create apps, games, and experiments. First set up Arduino IDE, the Poom library, and the Poom C5 board; then upload a small screen test.
Poom.leds(). Its opt-in PoomIMU module reads accelerometer and gyroscope data. Start with the screen test below, then explore those modules in the Poom library documentation.POOM will boot into your sketch instead of its usual menu and tools. When you want those features back, use the POOM Web Flasher to reinstall the official firmware.
1. Install Arduino IDE
Download the current Arduino IDE 2 from the official Arduino software page. Choose the installer for your operating system:
- Windows: run the downloaded installer and follow its prompts.
- macOS: open the downloaded
.dmgand drag Arduino IDE into Applications. - Linux: download the AppImage, allow it to run as a program in its file permissions, then open it.
Launch Arduino IDE once installation finishes. Arduino's installation guide has more detail for each operating system.
2. Install the Poom library
Open Tools → Manage Libraries… in Arduino IDE and search for Poom. Find Poom by Poom and click Install. If Arduino IDE asks to install dependencies, accept. The library gives your sketch access to POOM's screen, buttons, buzzer, LEDs, and opt-in IMU functions for motion.
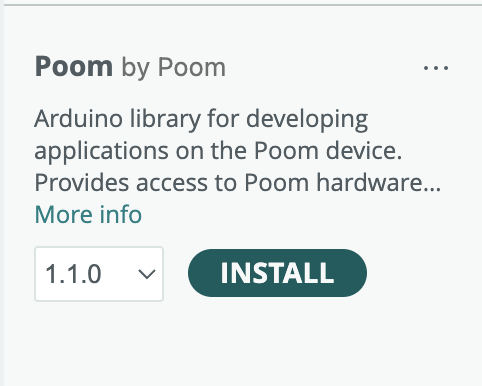
If dependencies were not installed automatically, search Library Manager for Adafruit SH110X and Adafruit NeoPixel and install both. See the Poom library repository for examples and source code.
3. Install the Poom C5 board
Install the Poom C5 board in Arduino IDE 2.x using Boards Manager.
Add the Poom Boards Manager URL
Open File → Preferences on Windows or Linux, or Arduino IDE → Settings on macOS. In Additional Boards Manager URLs, add:
https://raw.githubusercontent.com/The-POOM/poom-arduino-board/main/package_poom_index.jsonKeep any URLs already there, then click OK.
Install the Poom board
Open Tools → Board → Boards Manager. Search for Poom and install Poom 1.0.0.
Select Poom C5
After installation, go to Tools → Board → Poom → Poom C5. The Poom C5 board is now selected in Arduino IDE.
esp32:esp32 core or its tools are missing, add the Espressif Boards Manager URL and install esp32 by Espressif Systems as well.4. Connect POOM and select its port
Use a USB data cable and the USB-C port on the right side of POOM. Connect it to your computer, then select the newly appearing serial port in the Arduino IDE board selector or under Tools → Port. On Windows it usually looks like COM…; on macOS or Linux it will have a /dev/… name.
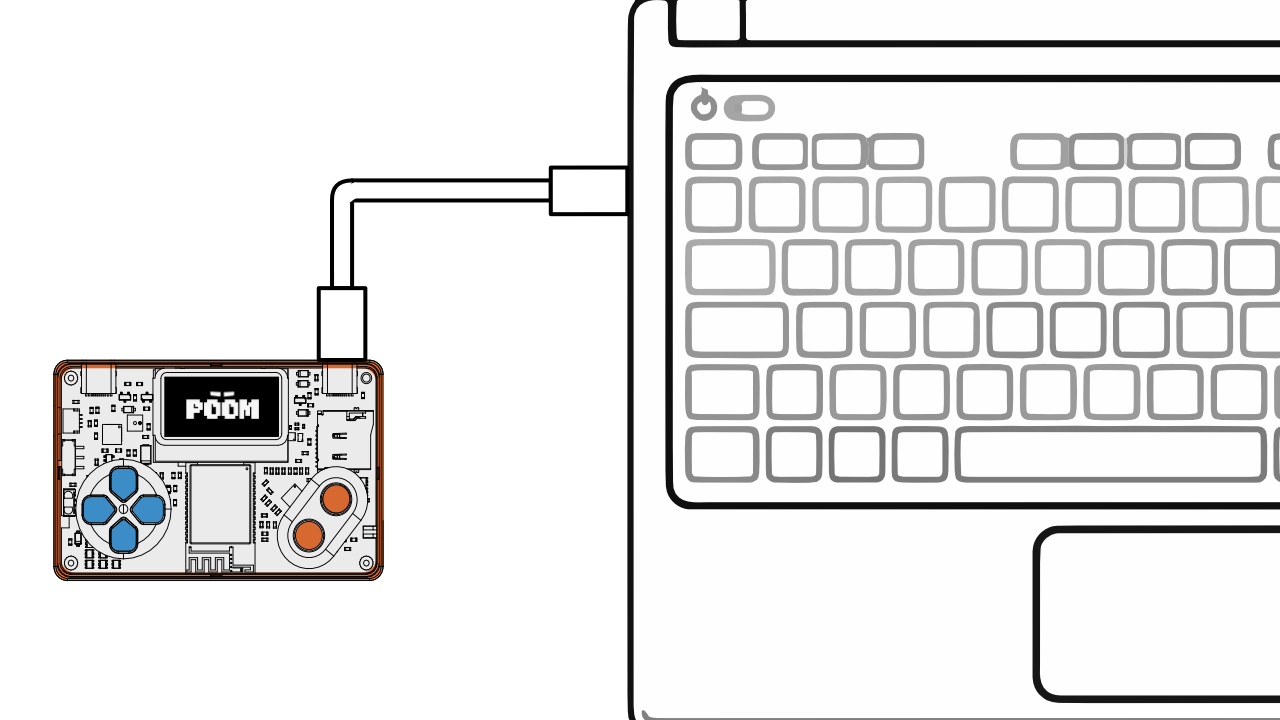
If no port appears, try another data cable or USB port. Disconnect and reconnect POOM to identify which port belongs to it. Close any serial monitor or browser flasher that may already be using that port.
5. Verify and upload a first sketch
Open File → New Sketch, replace the template with this small screen test, and save it as HelloPoom. The same example is available in the Poom library examples.
#include <Poom.h>

void setup() {
  Poom.begin();
  Poom.clear();
  Poom.setCursor(0, 0);
  Poom.println(F("Poom ready!"));
  Poom.show();
}

void loop() {
}- Confirm that Poom C5 and POOM's port are selected.
- Click Verify (check mark). If the IDE reports a missing library, return to step 2.
- Click Upload (right arrow) and wait for the success message. POOM should restart and show Poom ready! on its screen.
If upload cannot connect, use POOM's Bootloader mode: turn POOM off, hold button A, turn it on while holding A, and leave it connected to the right-side USB port. A black screen in this mode is expected. Recheck the selected port, then click Upload again. Power-cycle POOM after uploading if the sketch does not start automatically.
6. Add a Qwiic sensor and make your webhook
The sensors shown in Maker mode are examples. You can add any compatible Qwiic/I²C sensor with a suitable Arduino library. Qwiic uses a keyed 4-pin cable for 3.3 V, ground, SDA and SCL, so you can connect a supported breakout without soldering. Check the hardware reference for your POOM board revision before wiring a non-Qwiic module.
This starter uses the VL53L1X distance sensor pictured in Maker mode. In Arduino IDE, install Adafruit VL53L1X from Library Manager and accept its dependencies. Connect the sensor to POOM's Qwiic connector. Create an HTTP POST endpoint you control (for example, a local Node-RED HTTP In flow with Debug and HTTP Response nodes), then replace the Wi-Fi and webhook placeholders below.
#include <Wire.h>
#include <WiFi.h>
#include <WiFiClient.h>
#include <HTTPClient.h>
#include <Adafruit_VL53L1X.h>

const char* WIFI_SSID = "YOUR_WIFI_NAME";
const char* WIFI_PASSWORD = "YOUR_WIFI_PASSWORD";
const char* WEBHOOK_URL = "http://192.168.1.50:1880/poom";

Adafruit_VL53L1X distanceSensor;

void setup() {
  Serial.begin(115200);
  if (!distanceSensor.begin(0x29, &Wire) ||
      !distanceSensor.startRanging()) {
    Serial.println("Check the VL53L1X Qwiic connection");
    while (true) delay(1000);
  }

  WiFi.begin(WIFI_SSID, WIFI_PASSWORD);
  while (WiFi.status() != WL_CONNECTED) delay(500);
  Serial.println("POOM is connected to Wi-Fi");
}

void loop() {
  if (!distanceSensor.dataReady()) return;

  int16_t millimeters = distanceSensor.distance();
  distanceSensor.clearInterrupt();
  if (millimeters < 0) return;

  if (WiFi.status() != WL_CONNECTED) {
    WiFi.reconnect();
    delay(1000);
    return;
  }

  WiFiClient client;
  HTTPClient http;
  if (http.begin(client, WEBHOOK_URL)) {
    http.addHeader("Content-Type", "application/json");
    String json = "{\"device\":\"POOM\",\"sensor\":\"VL53L1X\",\"distance_mm\":";
    json += String(millimeters) + "}";
    int status = http.POST(json);
    Serial.printf("Distance: %d mm · webhook: %d\n", millimeters, status);
    http.end();
  }
  delay(1000);
}
Open Serial Monitor at 115200 baud to see each reading and its HTTP status. A 2xx status means your endpoint accepted the request. The JSON body contains device, sensor, and distance_mm. For another compatible sensor, install its Arduino library and replace the VL53L1X read with its measurement call; the Wi-Fi POST part can stay the same.
Troubleshooting
- Poom does not appear in Boards Manager: set Type to All, verify that the Poom Boards Manager URL above is exact, restart Arduino IDE, and search for
Poomagain. Poom.h: No such file or directory: install Poom by Poom in Library Manager and confirm that the two Adafruit dependencies are installed.- No serial port or connection timeout: use a data cable, the right-side USB port, the correct port selection, and Bootloader mode. Close other tools using the port.
- POOM's normal menu is gone: this is expected after a direct sketch upload. Restore the official firmware with the POOM Web Flasher.
Once your first sketch works, continue in THE MAKER Lab for more POOM projects.
References: Poom C5 board repository, Poom library, SparkFun Qwiic guide, Adafruit VL53L1X example, Espressif HTTPClient, and Arduino IDE installation.